Del Frisco’s Butter Cake Recipe
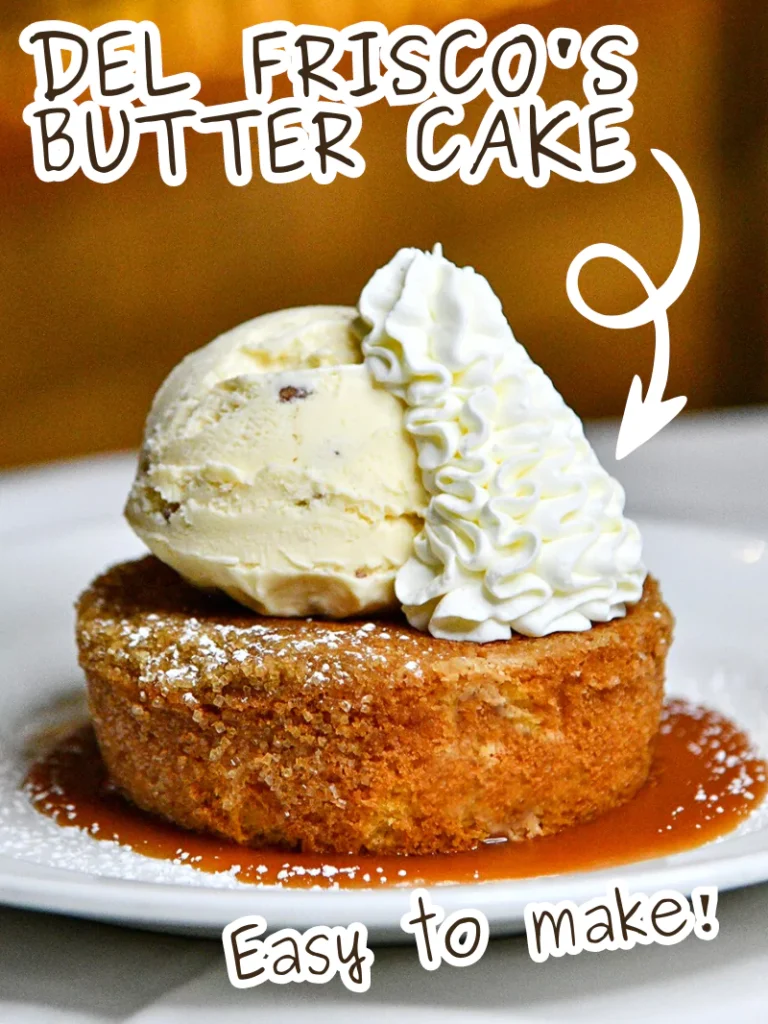
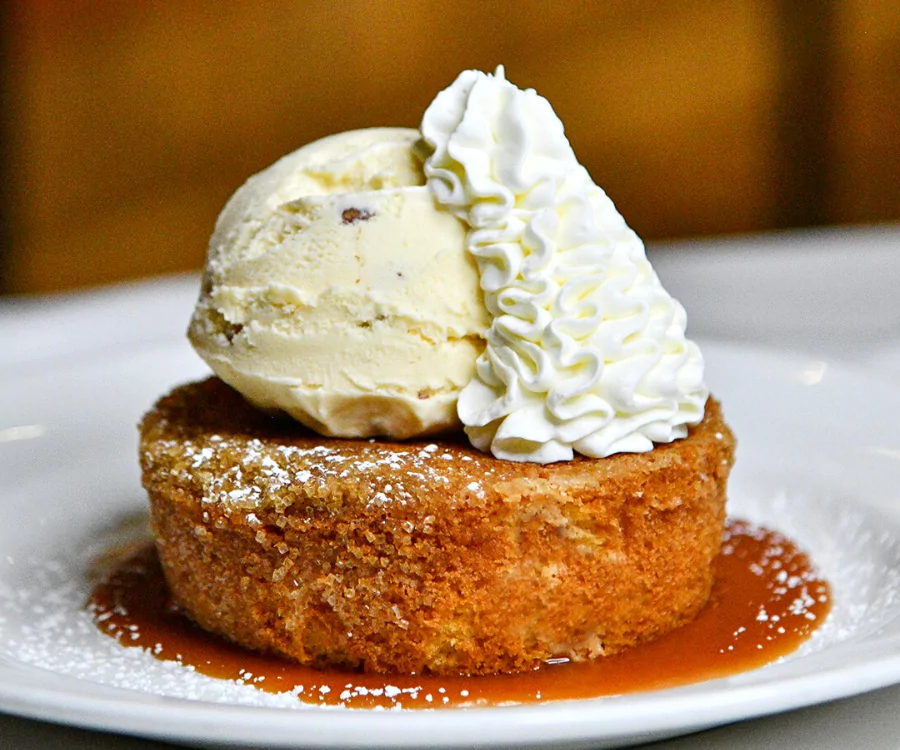
I love the buttery vanilla flavor and golden top of this small-batch, Del Frisco’s-inspired butter cake. Four little cakes make it easy to plate individual portions with ice cream or whipped cream.
This homemade version uses the simple butter cake batter below. It has no separate cream filling, and it is not presented as the restaurant’s official recipe. Expect shallow mini cakes rather than tall bakery layers.
Allow about 1 hour 5 minutes, including cooling, with softened butter ready before you start. Careful measuring, gentle mixing and checking the centers are the most useful ways to keep this small batch tender.
Kitchen Equipment You Will Need
As an Amazon Associate I earn from qualifying purchases.
- 4-inch cake pans
- Small mixing bowl
- Hand mixer
- Measuring cups
- Measuring spoons
- Flexible spatula
- Wire cooling rack
- Parchment paper
Preparing the Mini Cakes
Use four matching 4-inch cake pans, a small mixing bowl, a hand mixer, measuring cups and spoons, and a flexible spatula. A wire cooling rack lets air reach the cakes after baking. Cut parchment circles to fit the pan bases without running up the sides.
Matching pans matter because shallow layers bake quickly. Avoid mixing heavy ceramic dishes with thin metal pans in the same batch and expecting identical results. The stated baking range is a guide; the appearance and center test decide when each cake comes out.
Del Frisco’s Butter Cake ingredients
1/2 cup all-purpose flour
1/2 cup granulated sugar
1/4 cup unsalted butter, softened
1 large egg
1/2 teaspoon vanilla extract
2 tablespoons whole milk
1/8 teaspoon salt
Vanilla ice cream or whipped cream, for serving (optional)
Choosing and measuring the ingredients
Flour: Use ordinary all-purpose flour. Fluff it in its container, spoon it lightly into the dry measuring cup and level the surface. Scooping hard-packed flour straight from the bag can add too much, which matters especially when the whole batch uses only half a cup.
Butter: The quarter cup is four tablespoons. Choose unsalted butter so the listed salt stays under your control. Softened butter should accept a finger indentation while holding its shape. A shiny puddle is too warm for the creaming step; give it time to firm up before mixing.
Sugar, egg and vanilla: Granulated sugar helps the butter hold air as you beat them together. Use the specified large egg and measure the vanilla rather than pouring freely. Have the egg ready before mixing so you can move from the creamed butter to the batter without a long interruption.
Milk and salt: Whole milk adds a little moisture to this thick batter, and the small amount of salt balances its sweetness. Measure both carefully. This formula does not include baking powder or baking soda, so do not add either in an attempt to make taller cakes.
How to make the butter cakes
Prepare the oven and pans
Preheat the oven to 350°F (175°C), with a rack near the center. Grease four small cake pans about 4 inches across, and line their bases with fitted parchment circles for easier release. Set the pans on a sturdy baking sheet with space between them.
Cream the butter and sugar
In a small mixing bowl, beat the softened butter and granulated sugar at medium speed for about 2–3 minutes, scraping the bowl as needed, until paler and fluffy. The butter should be pliable but still slightly cool, with no melted liquid.
Mix in the egg and vanilla
Add the egg and vanilla extract. Beat until evenly combined, then scrape the sides and bottom of the bowl so no unmixed butter remains.
Add the flour and milk
Stir the flour and salt together separately. On low speed, add half to the butter mixture, then the milk, then the remaining flour mixture. Stop as soon as the batter is combined; finish with a few gentle folds to check the bottom of the bowl.
Portion the batter
Divide the small amount of batter evenly among the four prepared pans and smooth the tops. The layers will be shallow; do not add more batter or try to fill the pans halfway.
Bake and check the centers
Bake for about 15–20 minutes, checking a little early if the pans are dark or the batter is particularly shallow. The tops should be golden, the centers set and gently springy, and a toothpick inserted into a center should come out without wet batter.
Cool and release
Let the cakes rest in their pans on a rack for 10 minutes. Loosen the edges carefully, turn them out, remove any parchment and let them cool on the rack for about 20 minutes more, or until completely cool. Handle them gently because the small cakes are delicate.
Serve
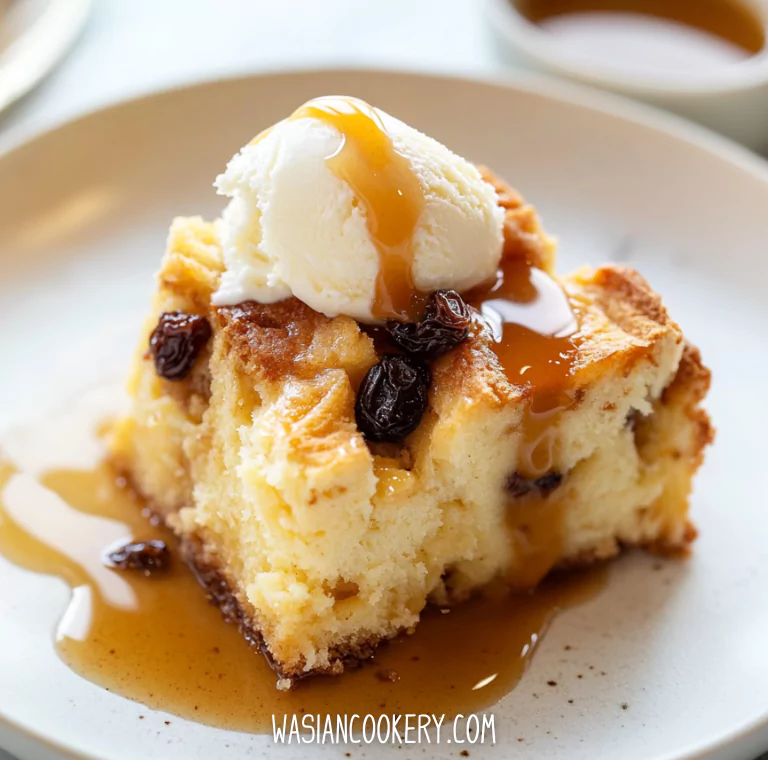
Once cooled, serve the cakes with a scoop of vanilla ice cream or whipped cream, if desired. Enjoy your mini cakes!
Texture and doneness
These cakes have a compact, buttery crumb. They will not rise like a sponge cake, and a low profile alone does not mean they failed. Dividing the batter evenly matters more than reaching a particular mark on the pans. Use a spoon to move a little batter between pans before baking if needed.
Check the middle as well as the edges. A golden rim with a glossy, trembling center needs more oven time. A toothpick should not carry liquid batter, and the top should feel set under a light touch. Avoid repeatedly opening the oven while the cakes are still taking shape.
Cooling helps the crumb hold together. Turning a cake out immediately can tear it, while wrapping a hot cake traps steam against the surface. Let the rack do its job before adding toppings or packing the cakes away.
Troubleshooting
The cakes are dry: Overmeasured flour and a few extra minutes of baking are common causes in a small batch. Level the flour, use matching pans and check before the end of the time range. A topping can make a dry cake more pleasant, but it cannot reverse overbaking.
The batter looks slightly curdled: Cold egg meeting soft butter can make the mixture look uneven. Scrape the bowl and proceed with the measured dry ingredients. Do not keep beating aggressively after the flour goes in, or add extra flour to hide the appearance.
A cake sticks: Let it rest for the full pan-cooling period, then loosen only the edges with a thin, suitable utensil. Parchment protects the base, but it does not replace greasing the sides. Avoid scraping a nonstick coating with a sharp metal knife.
The outside darkens too fast: Dark pans and an oven that runs hot can brown a thin cake quickly. Check the oven temperature for the next batch and begin checking earlier. Do not assume a dark crust means the center is ready.
Serving ideas
Add the optional ice cream or whipped cream just before serving. A small scoop is plenty alongside a mini cake. For a fruitier frozen topping, try strawberry shortcake ice cream. Keep extra ice cream in the freezer rather than leaving the carton beside the plates.
For a dessert platter, pair the cakes with chocolate-covered strawberries and let each person choose a topping. If you want a different, larger butter-based bake another day, see the Stock’s Bakery-style pound cake. Its separate formula should not be used to change the proportions here.
Storage and make-ahead tips
Cool the plain cakes completely, then wrap them well or place them in an airtight container. Keep them at a cool room temperature for up to 2 days. In a hot kitchen, refrigerate them instead; use refrigerated cakes within about 5 days and let a portion lose its chill before serving.
For longer storage, wrap each plain cake individually, place the wrapped cakes in a freezer container and freeze for up to 2 months for best quality. Thaw them while still wrapped in the refrigerator. Freeze the cakes without ice cream, whipped cream or fresh fruit attached.
Store dairy toppings according to their labels and add them at serving time. Once a cake has whipped cream on it, refrigerate it promptly. Do not leave perishable toppings at room temperature beyond 2 hours, or beyond 1 hour when it is hotter than 90°F.
Frequently asked questions
Can I use one large pan instead?
Not with the same timing and expected shape. This is a small amount of batter divided into four shallow cakes. A larger pan changes the thickness and release. Use the original small-pan setup for this version rather than guessing a full-size cake conversion.
Why is there no creamy filling?
The ingredient list makes a single butter cake batter. Ice cream or whipped cream is an optional topping. A filled or cream-cheese-layered cake would require a different formula, so there is no hidden filling step to complete.
Can I make these gluten-free or dairy-free?
The listed recipe contains wheat flour, butter and milk, and it also contains egg. A direct substitution can change how this small batter sets. Use a recipe developed for your dietary needs rather than assuming these changes will behave identically.
Del Frisco’s Butter Cake Recipe
Course: DessertCuisine: AmericanDifficulty: Easy4
servings15
minutes20
minutes1
hour5
minutesA small-batch, homemade butter cake inspired by a steakhouse-style dessert, with butter, vanilla and a simple golden crumb. Makes four shallow mini cakes, with optional ice cream or whipped cream.
Ingredients
1/2 cup all-purpose flour
1/2 cup granulated sugar
1/4 cup unsalted butter, softened
1 large egg
1/2 teaspoon vanilla extract
2 tablespoons whole milk
1/8 teaspoon salt
Vanilla ice cream or whipped cream, for serving (optional)
Directions
- Preheat the oven to 350°F (175°C), with a rack near the center. Grease four small cake pans about 4 inches across, and line their bases with fitted parchment circles for easier release. Set the pans on a sturdy baking sheet with space between them.
- In a small mixing bowl, beat the softened butter and granulated sugar at medium speed for about 2–3 minutes, scraping the bowl as needed, until paler and fluffy. The butter should be pliable but still slightly cool, with no melted liquid.
- Add the egg and vanilla extract. Beat until evenly combined, then scrape the sides and bottom of the bowl so no unmixed butter remains.
- Stir the flour and salt together separately. On low speed, add half to the butter mixture, then the milk, then the remaining flour mixture. Stop as soon as the batter is combined; finish with a few gentle folds to check the bottom of the bowl.
- Divide the small amount of batter evenly among the four prepared pans and smooth the tops. The layers will be shallow; do not add more batter or try to fill the pans halfway.
- Bake for about 15–20 minutes, checking a little early if the pans are dark or the batter is particularly shallow. The tops should be golden, the centers set and gently springy, and a toothpick inserted into a center should come out without wet batter.
- Let the cakes rest in their pans on a rack for 10 minutes. Loosen the edges carefully, turn them out, remove any parchment and let them cool on the rack for about 20 minutes more, or until completely cool. Handle them gently because the small cakes are delicate.
- Once cooled, serve the cakes with a scoop of vanilla ice cream or whipped cream, if desired. Enjoy your mini cakes!